

Create a React App to Fetch Data From The Chuck Norris API


In this article, I am going to show you how to create a React app that will fetch data from an API. Fetching data from an API is central to almost every application. I will show you how easy it is to fetch data from an API.
What We Will Be Creating
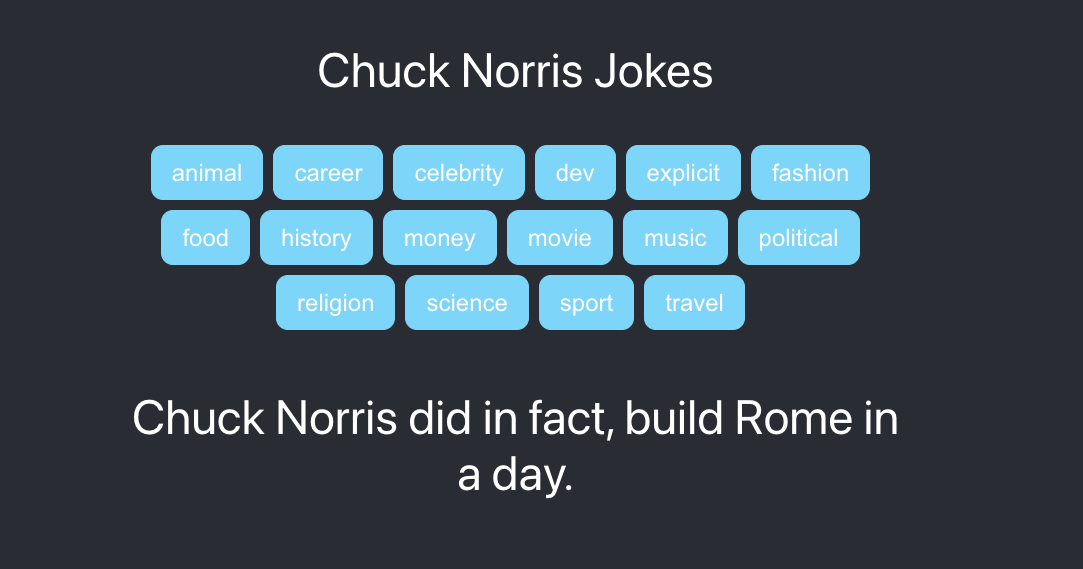
We will create a React app that will have a button for every category of jokes in the Chuck Norris API. When a user clicks on a button, it will fetch a random joke from the API in that category.
Here is what it looks like:
Create Our Starter Files
I will assume you already have Node installed on your computer. At your terminal enter this command:
npx create-react-app chuck-norris-jokes
When it is finished change into the directory that it created with the command:
cd chuck-norris-jokes
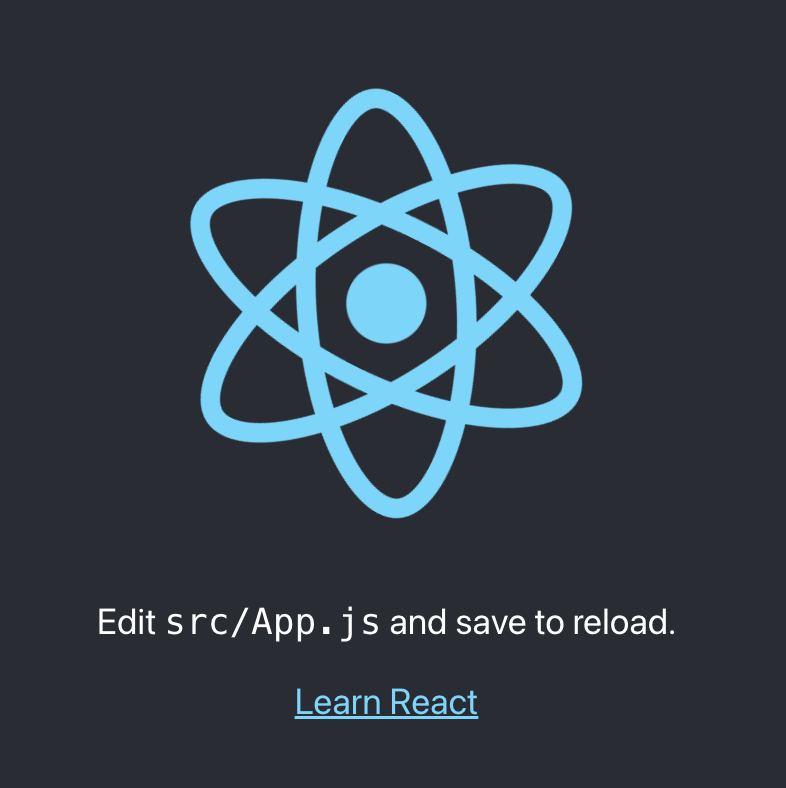
If you run npm start in the terminal, you will see this:
Intro to Chuck Norris API
The Chuck Norris API is located at: https://api.chucknorris.io/. Here is the usage directions that they provide for using the API:
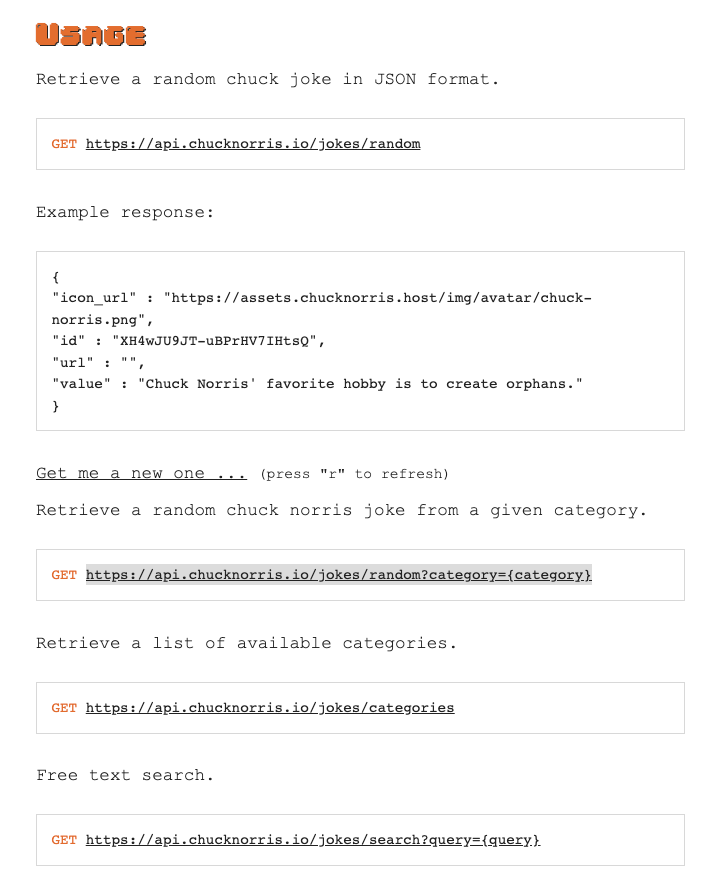
You can get a random joke by calling:
https://api.chucknorris.io/jokes/random
You can get a random joke from a specific category by calling:
https://api.chucknorris.io/jokes/random
You can get a list of available categories by calling:
https://api.chucknorris.io/jokes/categories
Getting All Available Categories
Open up your App.js file. You can delete everything inside the App-header as well as the import for the logo. Your file should look like this:
import './App.css';

function App() {
  return (
    <div className="App">
      <header className="App-header">

      </header>
    </div>
  );
}

export default App;
We want to get a list of available categories and then loop through that list and create a button with the name of the category. We will only need to do this one so we will use useEffect.
At top of the file add the line to import it:
import React, { useEffect } from 'react';
Inside your App function and the return line, we will add our useEffect. Add this code:
  useEffect(() => {
    const url = 'https://api.chucknorris.io/jokes/categories';

    const fetchData = async () => {
      try {
          const response = await fetch(url);
          const json = await response.json();
          console.log(json);
      } catch (error) {
          console.log("error", error);
      }
    };

    fetchData();

  }, []);
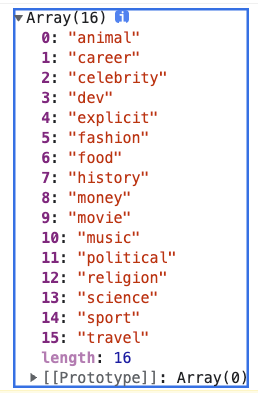
If you go to your browser and look at the console, you will see that it prints out a list of categories.
Adding Our Buttons
We want to create a variable called buttons. When the useEffect gets the list of categories, it will be assigned to this variable.
We will use useState to set the value of the variable so we need to import it. Update the import at top of the file to include useState. It should look like this:
import React, { useEffect, useState } from 'react';
Next, we need to define our variable. Add the following line above the useEffect:
const [buttons, setButtons] = useState([]);
Now we can set the variable to contain the list of categories. In the useEffect replace the console.log(json) with:
setButtons(json);
Now that we have the list of categories, we need to display a button for each one. Add the following code inside the App-header:
        <p>Chuck Norris Jokes</p>
        <div className="btn-wrapper">
          {buttons.map((item) => {
            return (
              <button
                key={item}
                className="btn"
              >{item}</button>
            )
          })}
        </div>
Now we have our buttons but we need to add some styling to them so they look better. Open up the App.css file. Delete everything that is in this file. Add the following code:
.App {
  text-align: center;
  background-color: #282c34;
  min-height: 100vh;
  display: flex;
  flex-direction: column;
  align-items: center;
  justify-content: flex-start;
}

.App-header {
  font-size: 3rem;
  color: white;
  width: 90vw;
  max-width: 800px;
}

.btn-wrapper {
  display: flex;
  justify-content: center;
  align-items: center;
  flex-wrap: wrap;
}

.btn {
  background: #61dafb;
  height: 55px;
  font-size: 1.5rem;
  padding: 10px 20px;
  color: white;
  border-radius: 12px;
  border: 1px solid #61dafb;
  margin-right: 10px;
  margin-bottom: 10px;
  cursor: pointer;
}
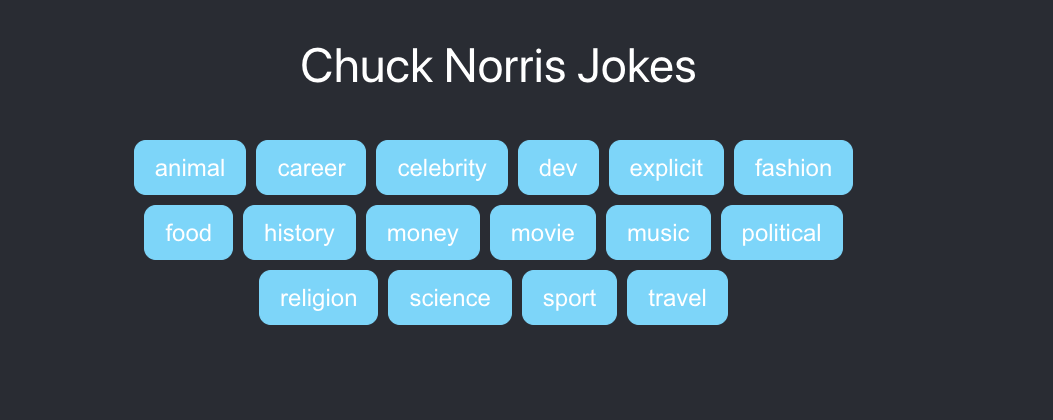
This is what our App looks like now:
Getting a Joke From a Category
When a user clicks on a button, we want to call the Chuck Norris API and pass in the category. This will get a random joke from that category.
Let's start by adding a onclick to the button. Update the button so that it looks like this now:
<button
   key={item}
   className="btn"
   onClick={() => getJoke(item)}
>{item}</button>
Next, we need to create our jetJoke function. This function will use most of the same code in useEffect we created earlier. Add this code above the useEffect:
  const getJoke = async (category) => {
    const url = `https://api.chucknorris.io/jokes/random?category=${category}`;
    try {
      const response = await fetch(url);
      const json = await response.json();
      console.log(json);
    } catch (error) {
        console.log("error", error);
    }
  }
If you click on a button, you will see the following in the console:

This call to the API returns an object. The actual joke is on the key called value. This is what we want to save.
We want to do the same thing when we get the joke back from the API. We want to save the joke in a variable called joke. Add the following line right before the useState line:
const [joke, setJoke] = useState({});
Update the getJoke function and replace the console.log with:
setJoke(json);
Next, we need to display the joke. Add the following code below the btn-wrapper:
<div className="joke-wrapper">
    {joke.value}
</div>
Just to make things look better, I added a class called joke-wrapper. Let's ad some styling to it so that there is some space between the joke and the buttons. Add the following code to the App.css file:
.joke-wrapper {
  margin-top: 3rem;
}
Final App
If you view the app in a browser, you should see this:
Let's Connect
Thanks for reading my article today. You can get the source code here.
If you like my content, please consider buying me a coffee ☕.