


Vue CLI is a full system for rapid Vue.js development. It provides the following:
- Interactive project scaffolding via @vue/cli.
- A runtime dependency (@vue/cli-service) that is:
- Upgradeable;
- Built on top of webpack, with sensible defaults;
- Configurable via in-project config file;
- Extensible via plugins
- A rich collection of official plugins integrating the best tools in the frontend ecosystem.
- A full graphical user interface to create and manage Vue.js projects.
Vue CLI aims to be the standard tooling baseline for the Vue ecosystem. It ensures the various build tools work smoothly together with sensible defaults so you can focus on writing your app instead of spending days wrangling with configurations. At the same time, it still offers the flexibility to tweak the config of each tool without the need for ejecting.
Installation
To install the new package, use one of the following commands. You need administrator privileges to execute these unless npm was installed on your system through a Node.js version manager (e.g. n or nvm).
npm install -g @vue/cli
# OR
yarn global add @vue/cli
After installation, you will have access to the vue binary in your command line. You can verify that it is properly installed by simply running vue, which should present you with a help message listing all available commands.
 ~ $ vue
Usage: vue <command> [options]

Options:
  -V, --version                              output the version number
  -h, --help                                 display help for command

Commands:
  create [options] <app-name>                create a new project powered by vue-cli-service
  add [options] <plugin> [pluginOptions]     install a plugin and invoke its generator in an already created project
  invoke [options] <plugin> [pluginOptions]  invoke the generator of a plugin in an already created project
  inspect [options] [paths...]               inspect the webpack config in a project with vue-cli-service
  serve                                      alias of "npm run serve" in the current project
  build                                      alias of "npm run build" in the current project
  ui [options]                               start and open the vue-cli ui
  init [options] <template> <app-name>       generate a project from a remote template (legacy API, requires @vue/cli-init)
  config [options] [value]                   inspect and modify the config
  outdated [options]                         (experimental) check for outdated vue cli service / plugins
  upgrade [options] [plugin-name]            (experimental) upgrade vue cli service / plugins
  migrate [options] [plugin-name]            (experimental) run migrator for an already-installed cli plugin
  info                                       print debugging information about your environment
  help [command]                             display help for command

  Run vue <command> --help for detailed usage of given command.
You can check you have the right version with this command:
vue --version
Creating a Project
To create a new project, run:
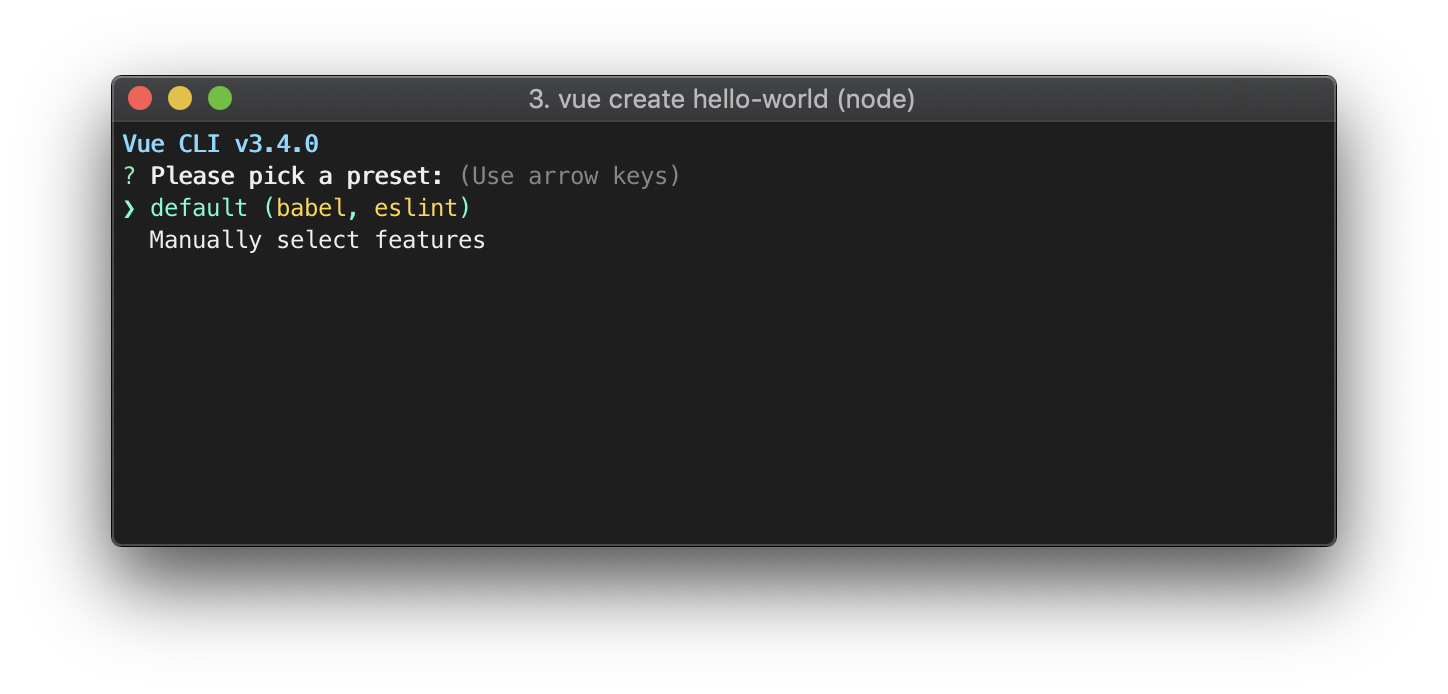
vue create hello-world
You will be prompted to pick a preset. You can either choose the default preset which comes with a basic Babel + ESLint setup, or select "Manually select features" to pick the features you need.
The default setup is great for quickly prototyping a new project, while the manual setup provides more options that are likely needed for more production-oriented projects.

If you chose to manually select features, at the end of the prompts you also have the option to save your selections as a preset so that you can reuse it in the future.
Using the GUI
You can also create and manage projects using a graphical interface with the vue ui command:
vue ui
The above command will open a browser window with a GUI that guides you through the project creation process.
Plugins
Vue CLI uses a plugin-based architecture. If you inspect a newly created project's package.json, you will find dependencies that start with @vue/cli-plugin-. Plugins can modify the internal webpack configuration and inject commands to vue-cli-service. Most of the features listed during the project creation process are implemented as plugins.
Installing Plugins in an Existing Project
Each CLI plugin ships with a generator (which creates files) and a runtime plugin (which tweaks the core webpack config and injects commands). When you use vue create to create a new project, some plugins will be pre-installed for you based on your feature selection. In case you want to install a plugin into an already created project, you can do so with the vue add command:
vue add eslint
# OR
vue add apollo
CLI Service
Inside a Vue CLI project, @vue/cli-service installs a binary named vue-cli-service. You can access the binary directly as vue-cli-service in npm scripts, or as ./node_modules/.bin/vue-cli-service from the terminal.
This is what you will see in the package.json of a project using the default preset:
{
  "scripts": {
    "serve": "vue-cli-service serve",
    "build": "vue-cli-service build"
  }
}
You can invoke these scripts using either npm or Yarn:
npm run serve
# OR
yarn serve
If you have npx available (should be bundled with an up-to-date version of npm), you can also invoke the binary directly with:
npx vue-cli-service serve
Browser Compatability
You will notice a browserslist field in package.json (or a separate .browserslistrc file) specifying a range of browsers the project is targeting. This value will be used by @babel/preset-env and autoprefixer to automatically determine the JavaScript features that need to be transpiled and the CSS vendor prefixes needed.
Working with CSS
Vue CLI projects come with support for PostCSS, CSS Modules and pre-processors including Sass, Less and Stylus.
Referencing Assets
All compiled CSS are processed by css-loader, which parses url() and resolves them as module requests. This means you can refer to assets using relative paths based on the local file structure. Note if you want to reference a file inside an npm dependency or via webpack alias, the path must be prefixed with ~ to avoid ambiguity.
Pre-Processors
You can select pre-processors (Sass/Less/Stylus) when creating the project. If you did not do so, the internal webpack config is still pre-configured to handle all of them. You just need to manually install the corresponding webpack loaders:
# Sass
npm install -D sass-loader sass

# Less
npm install -D less-loader less

# Stylus
npm install -D stylus-loader stylus